

10 mins read

When it comes to self-hosting OpenClaw, Docker has become the community's overwhelming choice — and for good reason. Rather than wrestling with Node.js version conflicts, global npm packages, and system-level dependencies on a bare Linux server, Docker packages everything your OpenClaw gateway needs into a single, reproducible environment. The same container image that runs on your laptop will behave identically on a $6/month VPS in Frankfurt or a $24/month DigitalOcean droplet in New York. That reproducibility alone eliminates a huge class of "works on my machine" debugging nightmares.
Docker also makes OpenClaw dramatically easier to update. When a new release ships — like the recent v2026.3.22 with its extensive security hardening and plugin improvements — upgrading is as simple as pulling the new image and restarting your compose stack. No npm install headaches, no dependency resolution conflicts. This is especially valuable given how rapidly OpenClaw is evolving; the project is shipping meaningful releases multiple times a month.
For operators running OpenClaw as a business-critical tool — handling sales leads, managing customer communications, or running overnight coding agents — container isolation also provides a meaningful security boundary. If a misconfigured skill or a malicious third-party tool attempts to do something destructive, it hits the container wall first. The optional sandbox container takes this further with ephemeral tmpfs mounts that are discarded after every tool execution, leaving no residue on the host filesystem.
Portability: Deploy to any Linux host — VPS, bare metal, cloud VM — with identical behavior.
Reproducibility: Pin image tags for stable, auditable deployments.
Security: Network and filesystem isolation reduce blast radius from agent errors.
Easy updates: Pull, restart, done — no dependency management required.
Whether you are a solo developer running a personal AI assistant or a small team deploying multiple specialized agents, Docker gives you a professional foundation. If you want the same architecture without managing any of it, Clawnify.com runs the same Docker-based stack on your behalf — fully managed, always up to date.
The official OpenClaw Docker Compose setup is not just a single container — it is a carefully orchestrated stack of services that mirror the architecture of a production deployment. Understanding what each component does helps you debug issues, optimize performance, and make informed decisions about which services you actually need.
Service | Role | Default Port |
|---|---|---|
openclaw-gateway | The core AI agent runtime — handles all messaging, tool execution, and LLM communication | 18789 (internal) |
openclaw-cli | Provides the | N/A |
nginx | Reverse proxy — routes external HTTPS traffic to the gateway and handles SSL termination | 80 / 443 |
sandbox (optional) | Isolated container for running agent-executed code and shell commands safely | Internal only |
The most important architectural detail is how data persistence works. By default, the gateway stores all configuration, workspace files, memory, and conversation history inside the container at /home/node/.openclaw. Without proper bind mounts, this data evaporates every time you recreate the container — which would be catastrophic for an agent that has built up weeks of learned context and AgentSkills.
The official compose file solves this by bind-mounting those directories to the host filesystem. This means your agent's MEMORY.md, SOUL.md, daily notes, and all installed skills live on the host's disk and survive container recreation, image upgrades, and restarts. It's the difference between a stateless app and a stateful AI employee.
The sandbox container, if enabled, operates differently — it intentionally uses ephemeral tmpfs mounts that are wiped after each tool execution. This is by design: agent-executed code should never leave persistent artifacts in the execution environment, which significantly reduces the risk of privilege escalation or state contamination between runs.
The nginx service completes the stack by ensuring your gateway is accessible over HTTPS with proper certificate handling — essential if you are connecting external channels like Telegram, Discord webhooks, or custom integrations that require a publicly routable endpoint.
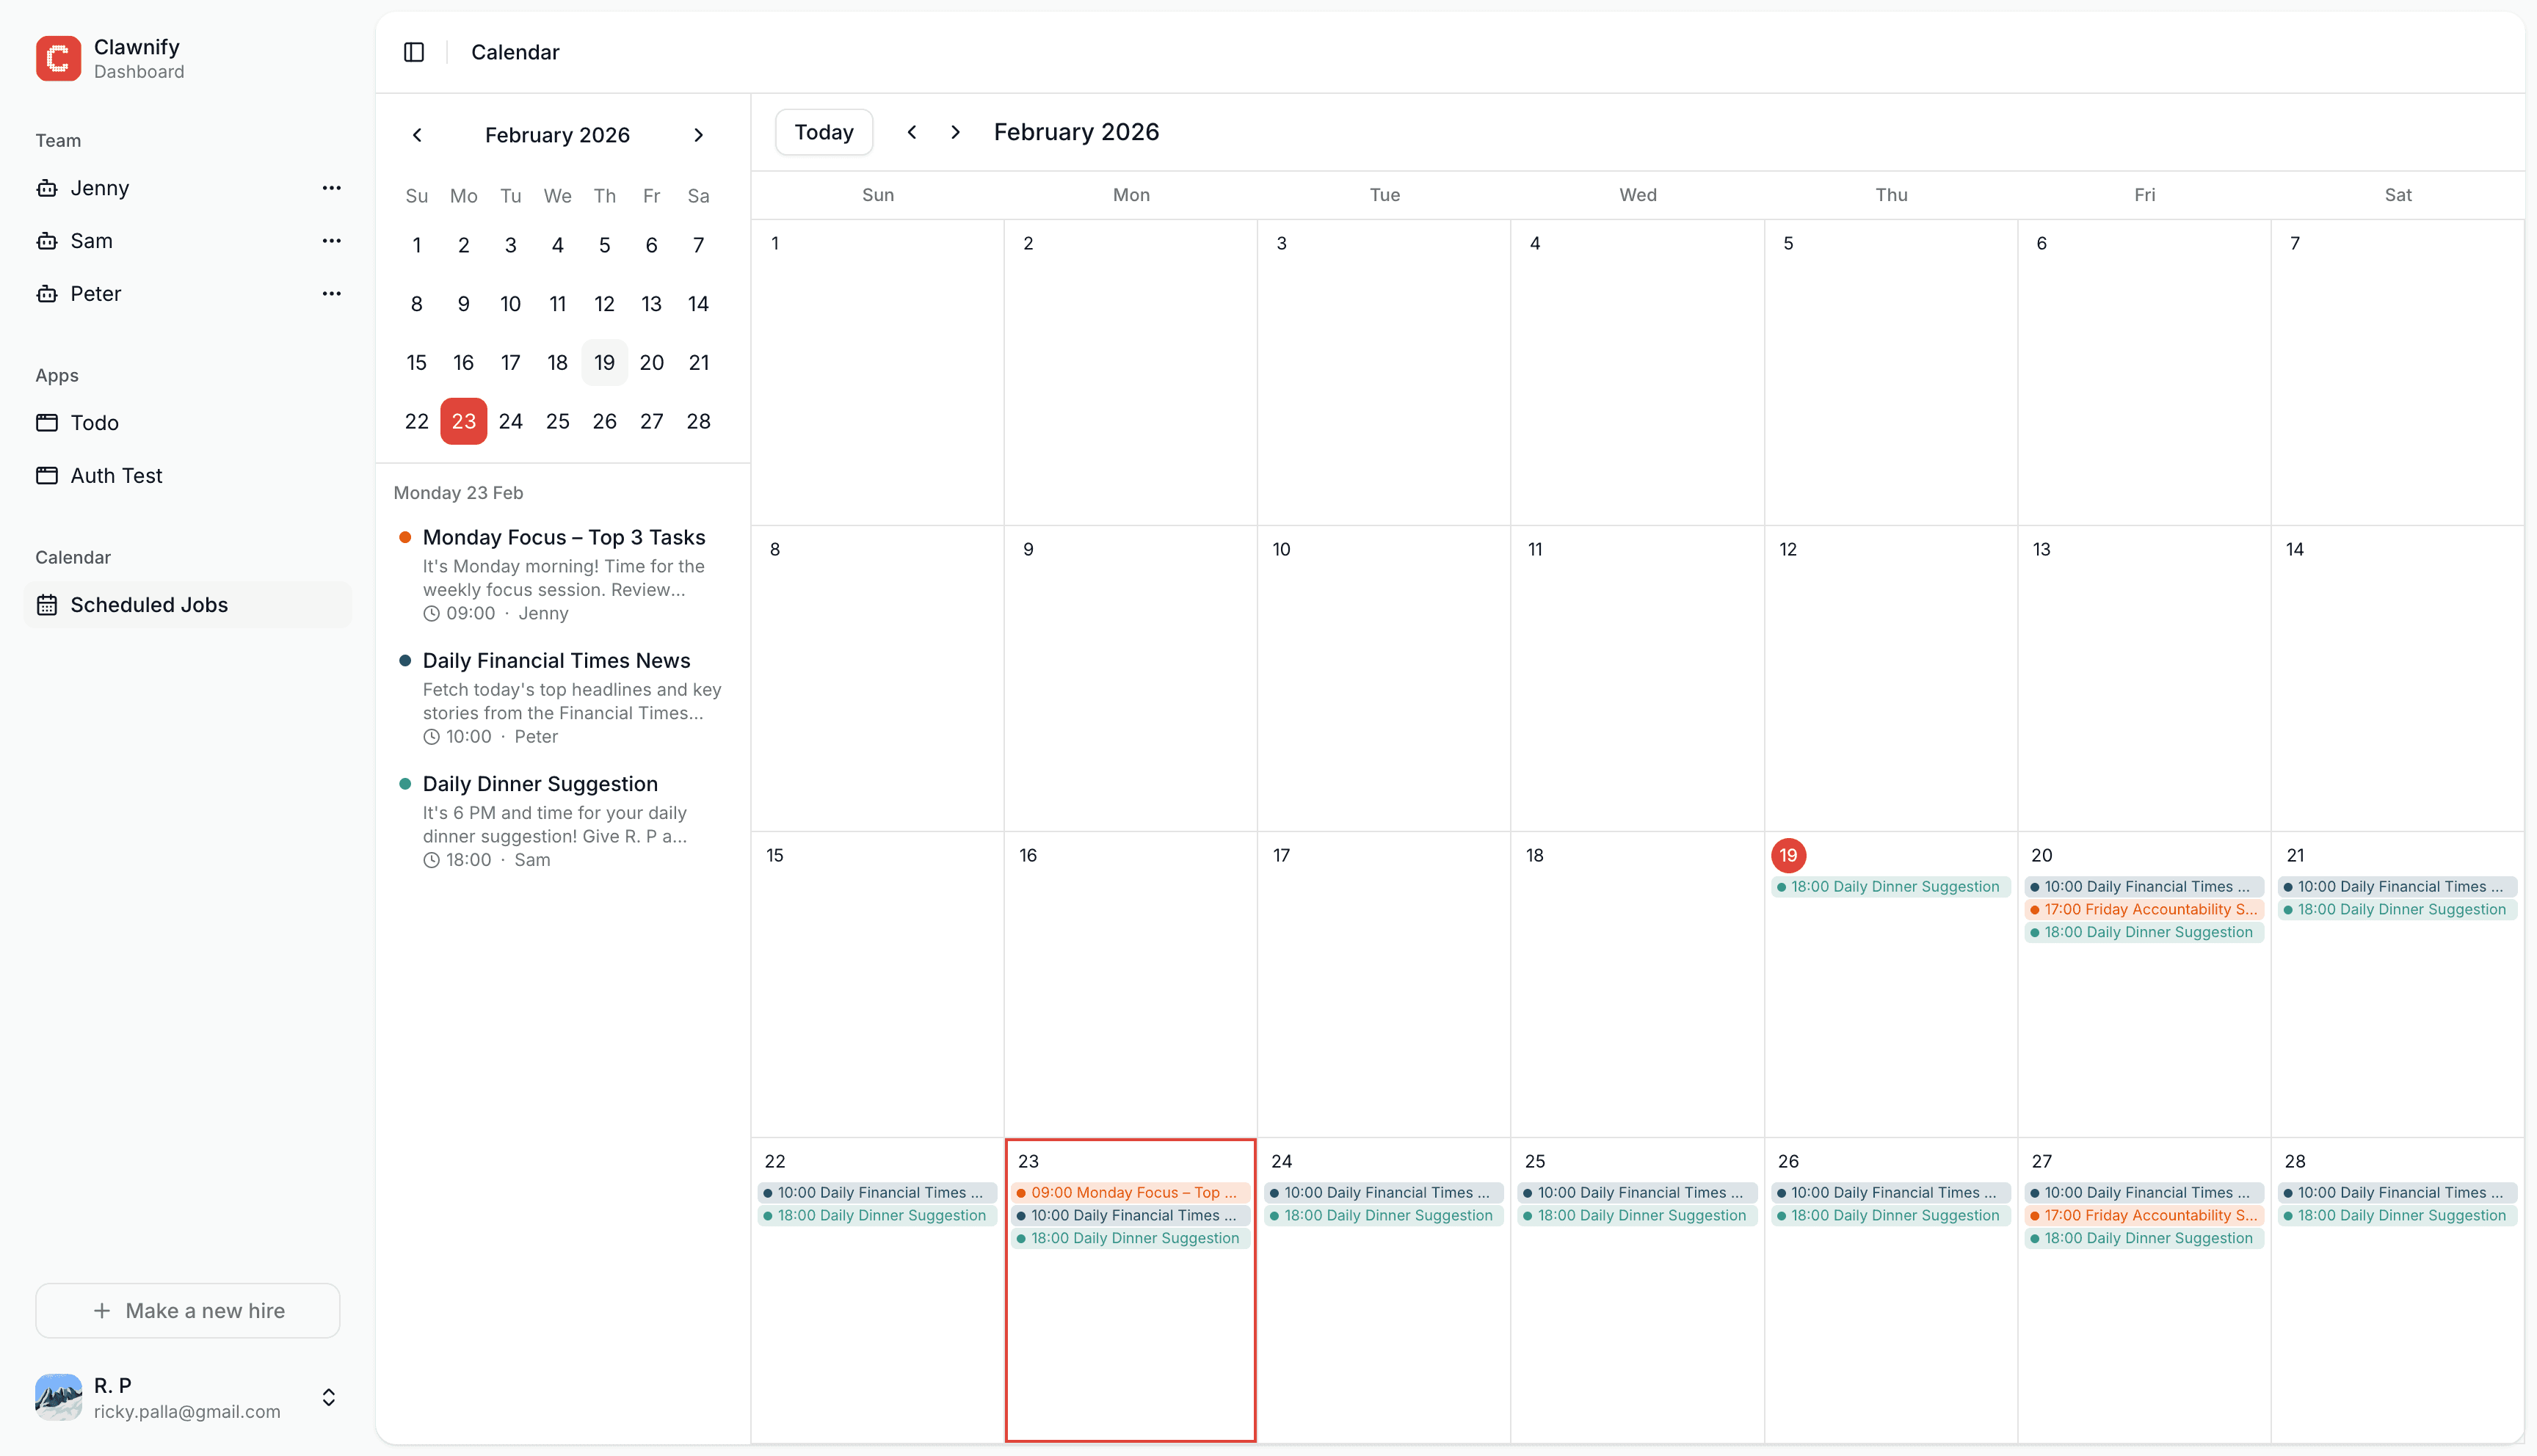
Start using OpenClaw in an isolated computer
Hire your first (AI) employee
Getting OpenClaw running with Docker Compose takes about 20-30 minutes on a fresh VPS. Here is the complete process from a clean Ubuntu server.
Prerequisites
Ubuntu 22.04 LTS or later (or any modern Debian-based distro)
At least 4 vCPU and 4GB RAM for a basic assistant setup
An API key from Anthropic, OpenAI, or another supported LLM provider
A domain name (optional but recommended for external channel integrations)
Step 1 — Install Docker and Compose
Run the following to install Docker Engine and the Compose plugin from the official Docker repository:
sudo apt update && sudo apt upgrade -ycurl -fsSL https://get.docker.com | shsudo usermod -aG docker $USER && newgrp docker
Step 2 — Grab the OpenClaw Docker Files
Download the official docker-compose.yml, docker-setup.sh, and .env.example from the OpenClaw GitHub repository. Copy .env.example to .env and open it in your editor.
Step 3 — Configure Environment Variables
At minimum, set your LLM provider and API key in the .env file:
LLM_PROVIDER=anthropicANTHROPIC_API_KEY=sk-ant-...
Never hardcode secrets directly into the compose file or commit your .env to version control. Use environment variables or Docker secrets for all credentials.
Step 4 — Run the Setup Script
chmod +x docker-setup.sh && ./docker-setup.sh
This script builds or pulls the images, generates your gateway authentication token, creates the necessary host directories for bind mounts, and launches the onboarding wizard in your browser. Follow the wizard to connect your first messaging channel (Telegram is the easiest starting point) and verify everything is working.
Step 5 — Verify
Run docker compose ps to confirm all services are healthy, then send a message through your connected channel. Your OpenClaw agent should respond within a few seconds.
Getting the stack running is only day one. A production-grade OpenClaw deployment needs to stay healthy through version updates, hardware changes, and the inevitable moments when something goes wrong. Here is how to operate your Docker setup with confidence.
Updating to a New Version
OpenClaw ships frequent releases. To update, pull the latest images and restart the stack:
docker compose pulldocker compose down && docker compose up -d
Because your workspace is bind-mounted to the host, your agent's memory, skills, and configuration are untouched by this process. It is safe to run at any time.
Viewing Logs
For real-time log streaming from the gateway:
docker compose logs -f openclaw-gateway
Structured logs by request ID make it significantly easier to trace which agent turn triggered a specific error. If you are debugging a skill or a webhook, filtering by the session ID in the logs will save you hours.
Restarting Services
To restart a single service without touching the rest of the stack:
docker compose restart openclaw-gateway
Backups
Since all persistent state lives in bind-mounted host directories, backing up your OpenClaw data is as simple as archiving those folders. A daily cron job that tars and uploads ~/.openclaw to S3 or Backblaze B2 is a minimal but sufficient disaster recovery strategy for most use cases.
Operation | Command |
|---|---|
Update images |
|
Restart stack |
|
View logs |
|
Check service health |
|
Backup workspace |
|
Common Issues
Gateway not responding: Check API key in
.envand verify the LLM provider is reachable.Context window errors: Set a minimum context of 32k tokens in your local model config.
Container exits immediately: Run
docker compose logs openclaw-gatewayimmediately after startup — the error will almost always be in the first 20 lines.
Every step in this guide represents real operational work: provisioning a server, installing Docker, managing .env files, monitoring logs, scheduling backups, and staying current with new releases. For developers and hobbyists who enjoy this work, it is a satisfying project. For business operators whose time is better spent on their actual business, it is a tax.
Clawnify.com is the managed OpenClaw hosting platform built on the same Docker-based architecture described in this guide — but without the operational overhead. Instead of running docker compose up on a VPS you maintain, you define your AI employee's role, connect your tools via one-click OAuth, and your agent is live in under five minutes. No terminal required.
Automatic updates: New OpenClaw releases are deployed to your instance without any action on your part. You benefited from v2026.3.22's security hardening the moment it shipped.
Built-in monitoring: A real-time dashboard shows your agent's activity, session history, and tool execution logs — no
docker compose logsrequired.Zero backup anxiety: Your workspace, memory, and AgentSkills are stored on redundant infrastructure. No cron jobs, no S3 buckets to configure.
Managed security: Gateway tokens, authentication, and network exposure are handled by the platform. You never need to think about firewall rules or nginx SSL configuration.
The transition from a self-hosted Docker setup to Clawnify is also straightforward if you have already been running locally — your SOUL.md, MEMORY.md, and installed skills can be migrated. This means you can prototype locally on Docker and promote to production on Clawnify without starting from scratch.
For teams deploying multiple agents — one for customer support, one for lead qualification, one for content — Clawnify's multi-agent dashboard makes it easy to manage them all in one place, with shared memory and handoff capabilities baked in. It is the same powerful OpenClaw engine, minus the ops burden.
Deploy your first AI employee in under five minutes at clawnify.com.